Keypad Door Lock System Using Arduino with Changeable Code(Electrical Engineering Mini Project)
Hi, and welcome to this tutorial (Yep it's old but classic), today I’m making a door lock project based on a Arduino board, keypad, LCD i²c screen, and I’ll use for the lock a solenoid and a relay, you can check my tutorial about the finger print door lock where I used a lock that uses a dc motor, so it depends on your lock system you’ll have to chose a wiring, codes and adapt them.
For a real project, I don’t recommend using a solenoid at all, but rather hack a lock that can be opened by both electronic and mechanic lock and adapt your project for it.
Parts
So for this project we will need those components, alongside some jump wires, and a power supply of 12V Sorry I didn’t add it here:
The Push Button is meant to open the lock from inside, you can remove it if you want, the resistor is for de-bounce.
I used 4×4 Keypad you can use 3×4 but you’ll need to modify somethings in the code like for confirmation I use ‘A’ you can change it to ‘*’ or ‘#’.
The solenoid is powered by 12V external power supply, and driven by the IRF510N MOSFET transistor.
The Transistor is used as a switch and it’s better to use an N-channel, the IRF510N is pretty popular when used with an Arduino, when you apply a 5V voltage across the Gate and the Source, the transistor becomes like a closed switch between the Drain and the Source, and it doesn’t need any resistor like bipolar ones.
And if there’s no voltage applied the transistor acts like an open switch, and this how we control the solenoid.
For the other example I’m using a 1 channel relay module, it works with 3.3V, and we control its input like controlling the transistor, the only difference is that they are inverted (we’ll see in the code).
Algorithm flowchart
To make things easy to understand here’s the flowchart, it’s not completly detailed but it’s an overview of the code.
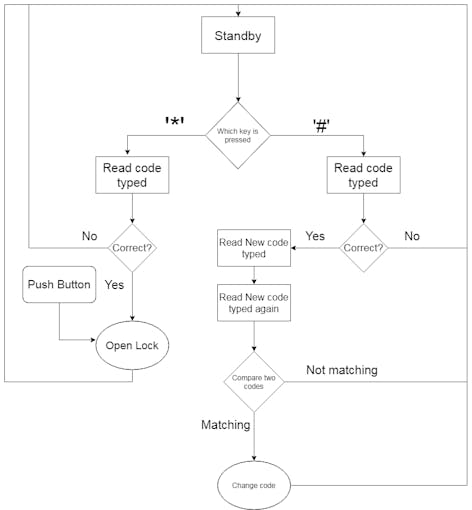
N.B: You can use the relay to control any electric lock up to 250VAC, you can use it also to control the Solenoid…
The codes are exactly the same the only thing is that you switch between (LOW and HIGH) to open the lock.
Just remember first time you must upload the code and change the passcode then uncomment some lines (read the code to find them (they’re in setup)) and reupload the code so it can read the passcode from the EEPROM.IT’S DONE ONLY ONCE.
Also you can change the code length, first I made it four digits, you can change it from the default code, as I used in the code the "sizeof(code)" instead of "4". You can't change a 4 digits code to a 6 digits passcode, first change the initial passcode from the code source.
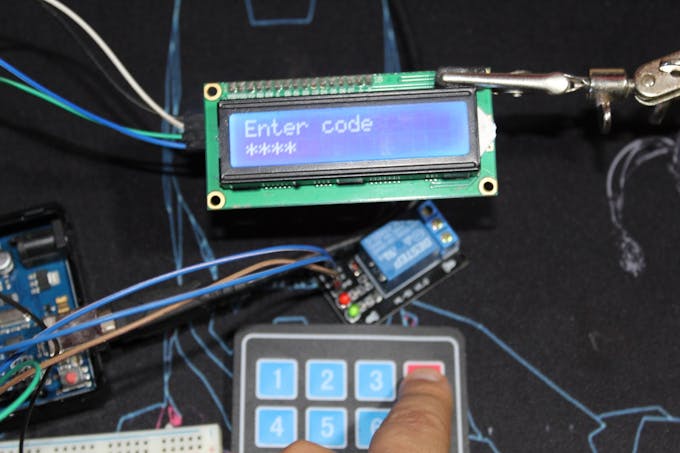
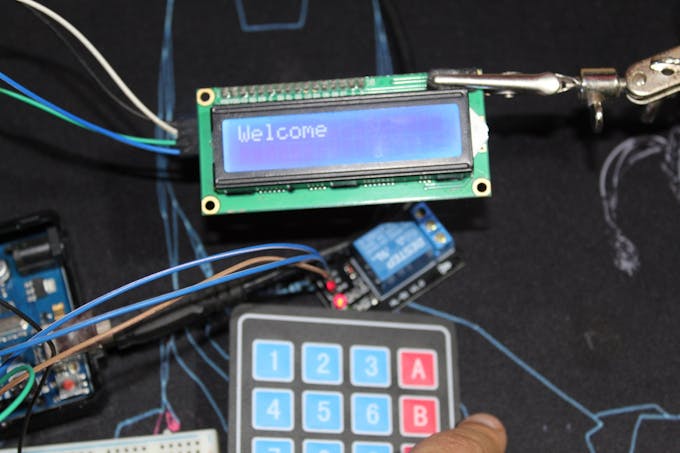
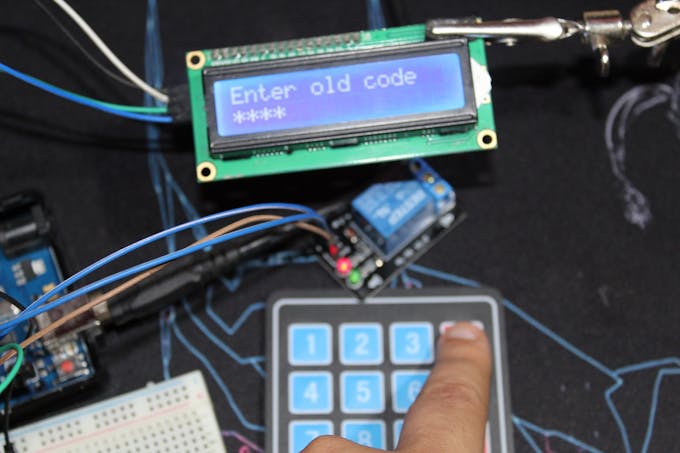
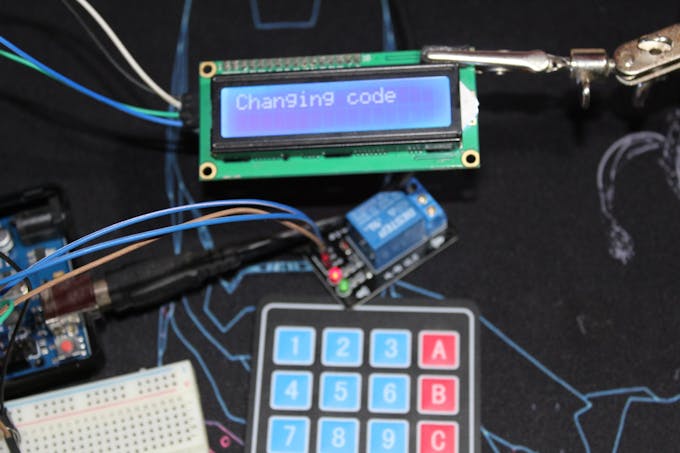
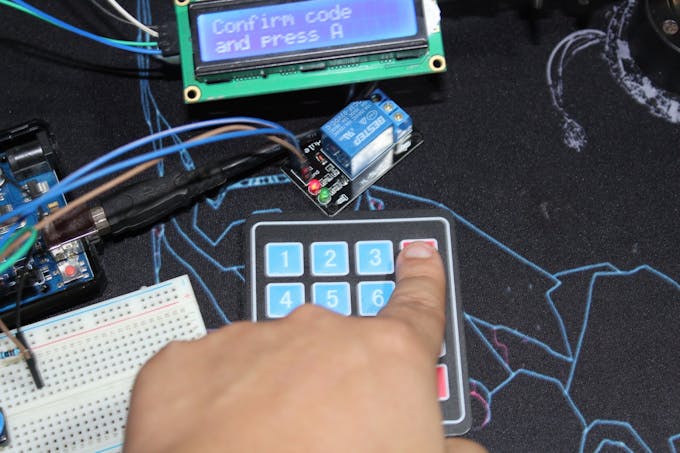
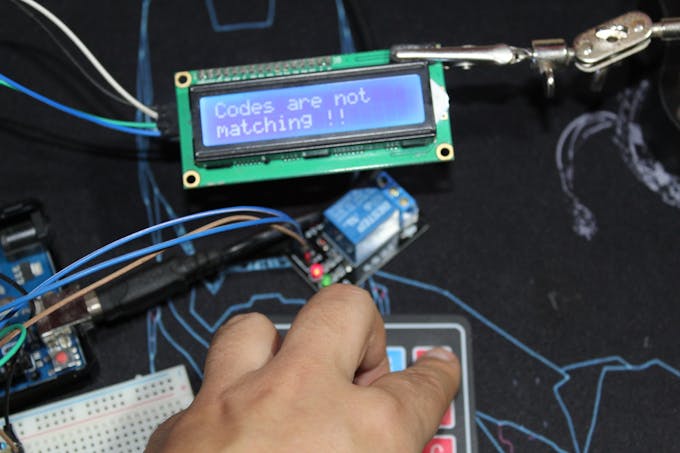
TestYou'll find the test in pictures below, navigate though them


CODE

#include <Keypad.h>
#include <EEPROM.h>
#include <LiquidCrystal_I2C.h>

#define Solenoid 11             //Actually the Gate of the transistor that controls the solenoid
#define O_Button 10             //Push Button

#define I2C_ADDR 0x27           //I2C adress, you should use the code to scan the adress first (0x27) here
#define BACKLIGHT_PIN 3         // Declaring LCD Pins
#define En_pin 2
#define Rw_pin 1
#define Rs_pin 0
#define D4_pin 4
#define D5_pin 5
#define D6_pin 6
#define D7_pin 7

const byte numRows= 4;          //number of rows on the keypad
const byte numCols= 4;          //number of columns on the keypad

char keymap[numRows][numCols]=
{
{'1', '2', '3', 'A'},
{'4', '5', '6', 'B'},
{'7', '8', '9', 'C'},
{'*', '0', '#', 'D'}
};

char keypressed;                 //Where the keys are stored it changes very often
char code[]= {'6','6','0','1'};  //The default code, you can change it or make it a 'n' digits one

char code_buff1[sizeof(code)];  //Where the new key is stored
char code_buff2[sizeof(code)];  //Where the new key is stored again so it's compared to the previous one

short a=0,i=0,s=0,j=0;          //Variables used later

byte rowPins[numRows] = {9,8,7,6}; //Rows 0 to 3 //if you modify your pins you should modify this too
byte colPins[numCols]= {5,4,3,2}; //Columns 0 to 3

LiquidCrystal_I2C lcd(I2C_ADDR,En_pin,Rw_pin,Rs_pin,D4_pin,D5_pin,D6_pin,D7_pin);
Keypad myKeypad= Keypad(makeKeymap(keymap), rowPins, colPins, numRows, numCols);

void setup()
         {
          lcd.begin (16,2);
          lcd.setBacklightPin(BACKLIGHT_PIN,POSITIVE);
          lcd.setBacklight(HIGH); //Lighting backlight
          lcd.home ();
          lcd.print("Standby");      //What's written on the LCD you can change

          pinMode(Solenoid,OUTPUT);
          pinMode(O_Button,INPUT);

//          for(i=0 ; i<sizeof(code);i++){        //When you upload the code the first time keep it commented
//            EEPROM.get(i, code[i]);             //Upload the code and change it to store it in the EEPROM
//             }                                  //Then uncomment this for loop and reupload the code (It's done only once)

         }


void loop()
{

  keypressed = myKeypad.getKey();               //Constantly waiting for a key to be pressed
    if(keypressed == '*'){                      // * to open the lock
            lcd.clear();
            lcd.setCursor(0,0);
            lcd.print("Enter code");            //Message to show
            GetCode();                          //Getting code function
                  if(a==sizeof(code))           //The GetCode function assign a value to a (it's correct when it has the size of the code array)
                  OpenDoor();                   //Open lock function if code is correct
                  else{
                  lcd.clear();
                  lcd.print("Wrong");          //Message to print when the code is wrong
                  }
            delay(2000);
            lcd.clear();
            lcd.print("Standby");             //Return to standby mode it's the message do display when waiting
        }

     if(keypressed == '#'){                  //To change the code it calls the changecode function
      ChangeCode();
      lcd.clear();
      lcd.print("Standby");                 //When done it returns to standby mode
     }

     if(digitalRead(O_Button)==HIGH){      //Opening by the push button
       digitalWrite(Solenoid,HIGH);
       delay(3000);                        //Opens for 3s you can change
       digitalWrite(Solenoid,LOW);

     }

}

void GetCode(){                  //Getting code sequence
       i=0;                      //All variables set to 0
       a=0;
       j=0;

     while(keypressed != 'A'){                                     //The user press A to confirm the code otherwise he can keep typing
           keypressed = myKeypad.getKey();
             if(keypressed != NO_KEY && keypressed != 'A' ){       //If the char typed isn't A and neither "nothing"
              lcd.setCursor(j,1);                                  //This to write "*" on the LCD whenever a key is pressed it's position is controlled by j
              lcd.print("*");
              j++;
            if(keypressed == code[i]&& i<sizeof(code)){            //if the char typed is correct a and i increments to verify the next caracter
                 a++;                                              //Now I think maybe I should have use only a or i ... too lazy to test it -_-'
                 i++;
                 }
            else
                a--;                                               //if the character typed is wrong a decrements and cannot equal the size of code []
            }
            }
    keypressed = NO_KEY;

}

void ChangeCode(){                      //Change code sequence
      lcd.clear();
      lcd.print("Changing code");
      delay(1000);
      lcd.clear();
      lcd.print("Enter old code");
      GetCode();                      //verify the old code first so you can change it

            if(a==sizeof(code)){      //again verifying the a value
            lcd.clear();
            lcd.print("Changing code");
            GetNewCode1();            //Get the new code
            GetNewCode2();            //Get the new code again to confirm it
            s=0;
              for(i=0 ; i<sizeof(code) ; i++){     //Compare codes in array 1 and array 2 from two previous functions
              if(code_buff1[i]==code_buff2[i])
              s++;                                //again this how we verifiy, increment s whenever codes are matching
              }
                  if(s==sizeof(code)){            //Correct is always the size of the array

                   for(i=0 ; i<sizeof(code) ; i++){
                  code[i]=code_buff2[i];         //the code array now receives the new code
                  EEPROM.put(i, code[i]);        //And stores it in the EEPROM

                  }
                  lcd.clear();
                  lcd.print("Code Changed");
                  delay(2000);
                  }
                  else{                         //In case the new codes aren't matching
                  lcd.clear();
                  lcd.print("Codes are not");
                  lcd.setCursor(0,1);
                  lcd.print("matching !!");
                  delay(2000);
                  }

          }

          else{                     //In case the old code is wrong you can't change it
          lcd.clear();
          lcd.print("Wrong");
          delay(2000);
          }
}

void GetNewCode1(){
  i=0;
  j=0;
  lcd.clear();
  lcd.print("Enter new code");   //tell the user to enter the new code and press A
  lcd.setCursor(0,1);
  lcd.print("and press A");
  delay(2000);
  lcd.clear();
  lcd.setCursor(0,1);
  lcd.print("and press A");     //Press A keep showing while the top row print ***

         while(keypressed != 'A'){            //A to confirm and quits the loop
             keypressed = myKeypad.getKey();
               if(keypressed != NO_KEY && keypressed != 'A' ){
                lcd.setCursor(j,0);
                lcd.print("*");               //On the new code you can show * as I did or change it to keypressed to show the keys
                code_buff1[i]=keypressed;     //Store caracters in the array
                i++;
                j++;
                }
                }
keypressed = NO_KEY;
}

void GetNewCode2(){                         //This is exactly like the GetNewCode1 function but this time the code is stored in another array
  i=0;
  j=0;

  lcd.clear();
  lcd.print("Confirm code");
  lcd.setCursor(0,1);
  lcd.print("and press A");
  delay(3000);
  lcd.clear();
  lcd.setCursor(0,1);
  lcd.print("and press A");

         while(keypressed != 'A'){
             keypressed = myKeypad.getKey();
               if(keypressed != NO_KEY && keypressed != 'A' ){
                lcd.setCursor(j,0);
                lcd.print("*");
                code_buff2[i]=keypressed;
                i++;
                j++;
                }
                }
keypressed = NO_KEY;
}

void OpenDoor(){             //Lock opening function open for 3s
  lcd.clear();
  lcd.print("Welcome");       //With a message printed
  digitalWrite(Solenoid,HIGH);
  delay(3000);
  digitalWrite(Solenoid,LOW);
}


Video Tutorial:
https://www.youtube.com/watch?v=SAC1rrs4_TY

Comments
Post a Comment